If you need a hand, email support[at]thethemefoundry[dot]com.
Enabling the pagination buttons
Traction fully supports the WP-PageNavi plugin, which allows you to add advanced paging navigation to your site. To ensure proper styling please uncheck the Use paginavi.css? option in Settings → PageNavi.
Featured slider
The featured slider is super simple to use once you get the hang of it. Below are some guidelines to help you get the slider setup and looking good.
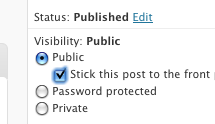
- Posts are added to the slider when they are marked “sticky”. When you mark a post “sticky” (see screenshot to the right) it will automatically appear in the slider.
- The description on the button in the sidebar of the slider (underneath the title) is pulled from the post excerpt. We recommend keeping it short and sweet. If you don’t see a post excerpt option in your editor be sure to enable it through the “Screen Options” dropdown button in the top right corner of the dashboard.
- Add a “read more” tag to your post so your entire post doesn’t show up in the feature box.
- Be sure to set a featured image on your post. Your featured image photo should be at least 602px wide and 200px tall. Smaller photos will be stretched to fit the slider and will look distorted. Larger photos are OK and will automatically be cropped to fit the slider. If your photos are larger than the recommended dimensions and do not appear to be cropped, ask your web host to install the GD image library.
- Once your posts are properly formatted feel free to play around with the autostart and animation speed settings and get everything just right.
Image dimensions
Where a height is not provided, feel free to insert your own custom value.
Featured image for blog post:
- Width: 175px
- Height: 150px
Featured slider image:
- Width: 602px
- Height: 200px
Blog post image:
- Width: 618px
Theme Options
Subscribe Links
To enable your subscribe links, complete the following steps:
- Navigate to Appearance → Theme options;
- Under Subscribe links, check to enable your social links;
- Enter the full URL links to your social sites in the provided input fields. Note: For Twitter, only enter your Twitter ID.
Sidebar Newsletter
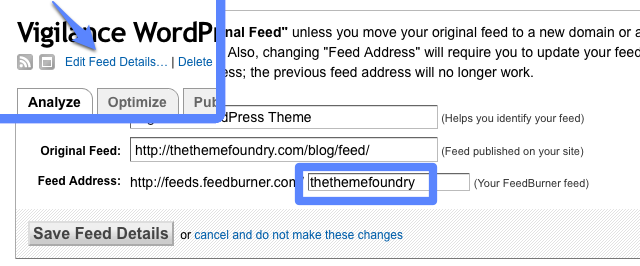
- First, if you haven’t already, you should sign up for Feedburner and then link it with your WordPress blog by following these instructions.
- Next, turn on “Email Subscriptions” from the Publicize tab inside Feedburner.
- Finally, get your “feed name” from Feedburner and paste it into the “Feedburner Feed Name” box on your theme options page.
Footer
You can add a custom copyright line to the footer of your site. To do this:
- Go to Appearance → Theme Options;
- Under Footer, enter your custom message;
- Click Save changes.