Minimum requirements
Finder requires WordPress 4.1 or above.
Getting help
The documentation below explains all of the main features of Finder and how to get the most out of the theme.
If you need a hand, just email support[at]thethemefoundry[dot]com.
Installation
Please read our tutorial on Installing your new theme.
Introduction to Finder

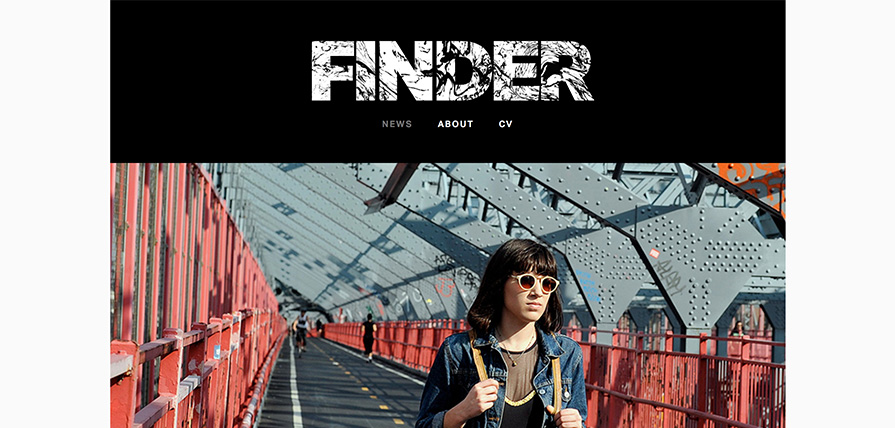
Finder is a minimal blog theme for photographers that makes it easy to share your work with efficiency and edge, removing much of the typical WordPress clutter so that your images and words remain the focus. Only the most important elements remain in our most minimal theme in our collection.
Typekit® fonts
Finder comes with a premium Typekit font, Aktiv Grotesk Std by Dalton Maag, built right in, without the need for a separate Typekit account. When you first install and activate the theme, you will see a notice that you need to authorize your site in order to display the fonts.
- Upon activation, you will be directed to the Font Authorization screen. You can also access this screen under the Appearance menu.
- Here, you will see two options: Authorize and Use Typekit Kit ID.
- In most cases, the Authorize option will be sufficient. Enter the email address and password associated with your Theme Foundry account.
- Click Authorize Site. You will only need to do this once per domain.
There are some special cases where the Use Typekit Kit ID option will be necessary. The most common of these is if your copy of Finder is getting more than 50,000 page views per month across all of the domains for which it is authorized. In this case you will need to sign up for your own Typekit account and create your own kit to use. This field is where you enter your own kit ID.
Setting up your site
If you go through each of the following sections of this tutorial, you will learn how to make the most of what Finder has to offer. The sections are organized in a way that might make sense if you are building a brand new site with content you have already created, but of course you don’t have to follow this order to get your site up and running.
The Customizer
Many sections of this tutorial refer to options within the WordPress Theme Customizer. One way to get to the Customizer is to click on Customize under the Appearance menu. You can also bring up the Customizer for a particular view by navigating to that view on the front end of your site and then clicking Customize from the dropdown menu in the Admin bar at the top of the screen.
Branding your site
We designed Finder with minimalism in mind. However, you can tailor many aspects of the visual design to match your personal or business branding.
Site Title & Tagline
You can use any image to create a custom text mask for your site title (or use the default marble text mask we’ve included). Upload your image or select one from the Media Library and then adjust the size of your text mask to optimize the display.
Alternately, check the box to disable the text mask. The site title font will stay the same, but the text will appear in a solid color.
Logo
The Logo section of the Customizer has three sections:
Logo
Uploading a custom logo to the site header will replace the site title text. The maximum width for a custom logo is 940px.
Favicon
Most web browsers will associate a small icon with your website’s domain if one is available. This is most often referred to as a Favicon. To add a Favicon version of your logo, the file you upload must be in the PNG or ICO file format, and should be 32px x 32px.
Apple Touch Icon
Similar to a Favicon, the Apple Touch Icon is used by some devices and apps as a visual representation of your site. This version of your logo must be in the PNG file format and should be 152px x 152px.
Color scheme
Finder has seven color settings that allow you to completely customize the color scheme of your site to match your brand, located in the Colors section of the Customizer. You will need to experiment with each setting in the Customizer to get a feel for which elements it affects, but here is a general guide:
- Site Title: site title text
- Text Color 1: post date and author, widget titles
- Text Color 2: site tagline text
- Text Color 3: main menu, blog post post text color (on homepage)
You can also set the site background color, the header background color, and the link color.
Navigation
Finder supports two menu locations. The Header Menu resides in the site header. The Footer Menu is in the site footer, which actually displays on the left side of the screen, and remains sticky, no matter how long you scroll.
On devices with narrow screens, the Footer Menu is not visible.
Footer text
Any content added to the Footer Text field in the Footer section of the Customizer will appear beneath the footer menu. Limited HTML is allowed along with text in the field.
Widgets
Finder includes two post footer widget areas. Widget areas are only shown on the single post view. To add widgets, navigate to Appearance → Widgets from the Dashboard, or in the Customizer open up a single post preview.
