One of the more powerful CSS property value combinations is display: none. This declaration tells the browser to completely hide an HTML element. You may use it to hide certain parts of your theme. Keep in mind, the element is still present in the HTML code itself, you’re just using CSS to hide it.
Example of how to use display:none
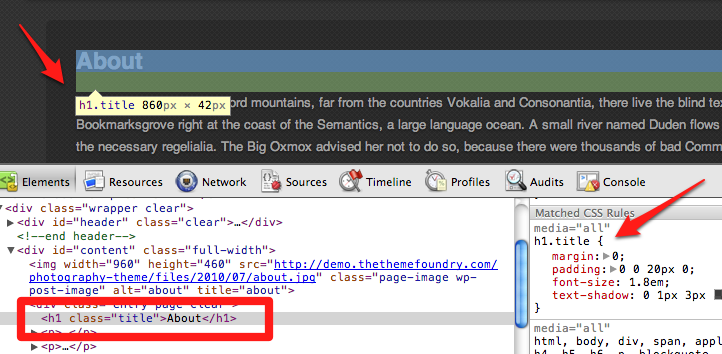
After learning how to use Firebug and Web Inspector you decide you want to hide the page titles in the Photography theme. You first inspect the page and discover the selector for the page titles is h1.title.

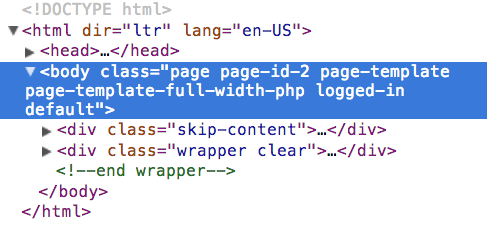
You also only want to hide the page titles for WordPress Pages, not everywhere. Therefore, to be safe, you’ll want to add in another selector to make the style rule more specific. WordPress gives themes the option to use a body_class function. This function automatically outputs different classes depending on what page you’re visiting. Below is an example of all the classes I see when I’m logged in to our Photography demo site and viewing the About page.

CSS allows you to combine selectors and be more specific about what you want to target. For example, if you wanted to target the h1.title element on all Pages you would use this selector:
body.page h1.title
If you wanted to target the h1.title element on this page only you would use this selector:
body.page-id-2 h1.title
In this example, we want to hide the page title on all Pages using display:none, so our final style rule looks like this:
body.page h1.title {
  display: none;
}
To complete the customization (after being sure to read how to properly edit CSS) you would add this new rule to the style.css file in your child theme.
