
Convert HTML to WordPress
By team on August 2, 2013
When I first decided to convert a static HTML design to WordPress I did some searching for a tutorial to help me get started with the basics. Surprisingly, I didn’t find anything that was very complete or easy to follow. So, I decided to write a very basic tutorial on how to convert a static HTML template into a WordPress theme. If you are an absolute beginner at developing WordPress themes then this should help you get started.
This tutorial assumes you already have a basic understanding of HTML and CSS. It also assumes you have a website built in HTML and CSS and have it ready for conversion to WordPress. For those who need a basic introduction, refer to this helpful introduction to WordPress themes. If you already have something in WordPress (maybe you bought one of our WordPress templates), you might be interested in learning how to customize a WordPress theme and the WordPress child theme basics.
Skip the hassle — buy a premium WordPress theme
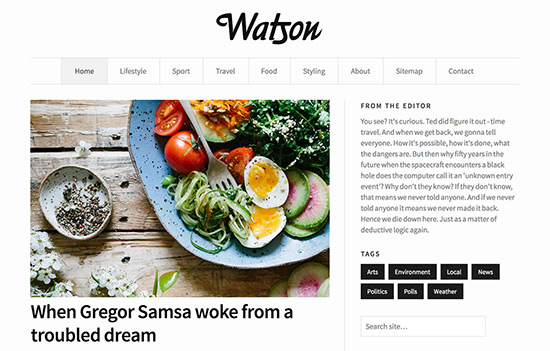
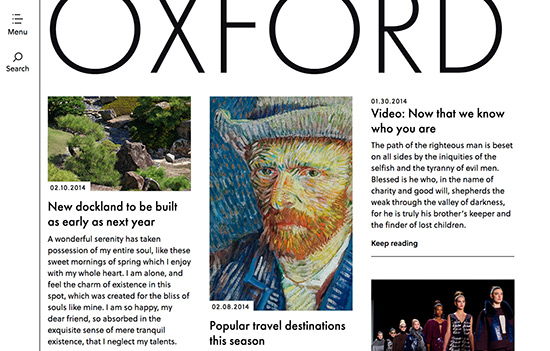
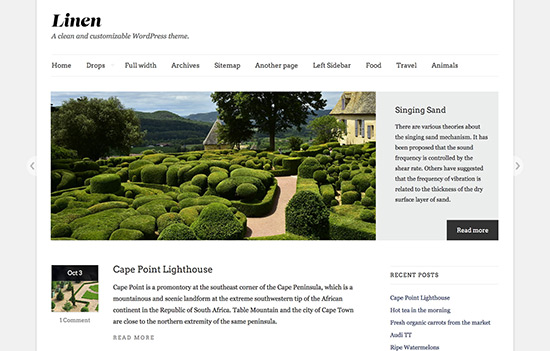
If you want something clean and easy to customize, be sure to browse through our collection of WordPress themes.
How WordPress Works
WordPress works in a rather straightforward manner but it may seem confusing if you are completely new to the concept. WordPress relies on PHP to call on different parts of your content from the database management system it stands on. For example, look in your /wp-content/themes/twentythirteen/ directory and open the header.php file. As you scroll through the code notice the PHP calls, they start with a <?php and end with a ?>. Look at line 37:
<h1 class="site-title"><?php bloginfo( 'name' ); ?></h1>
This line uses PHP to look-up your blog’s name from the database and display it. This basic function of retrieving or calling some kind of data from your database and using PHP to display it in your HTML is how WordPress works. Throughout this process you will be substituting PHP for different parts of your content and your code. This will make editing easier in the long run, as you will find out. Now that you understand the basics of how WordPress works, lets get started.
First Things First
The first step is to create a new folder and name it whatever you want your theme to be called. Next, create two new files, style.css and index.php and place them in the folder. Believe it or not, these are the only two files you actually need for a WordPress theme. Now copy and paste the code from your original CSS file into the style.css file you just created. At the top add the following code:
/*
Theme Name: Replace with your Theme's name.
Theme URI: Your Theme's URI
Description: A brief description.
Version: 1.0
Author: You
Author URI: Your website address.
*/
These comments simply help WordPress properly identify the theme. Your stylesheet is now ready to go.
Chop It Up
Now let’s start chopping up your HTML. Remember how we talked about WordPress using PHP to call data from your database? WordPress can also use PHP to call different files from within your template folder. Imagine your current HTML code chopped up into 4 (or more) different sections. For example, take a look at the layout and corresponding HTML of this page. The header comes first, followed by the content, and finally the footer. Instead of keeping these 3 parts of the HTML together in one file, you are going to put each of them in their own separate file. Then call on them one by one using PHP.
So go ahead and sort through your HTML code and place some markers in the 3 or 4 places where you plan on cutting the code into separate sections.
Now create 3 new files (header.php, sidebar.php, footer.php) and place them in your theme directory. Next take a look at the header.php file from the Twenty Thirteen theme we looked at earlier. Notice all the PHP that is used in between the <head> tags. Copy that code to your new header.php file. Now open up your original HTML file and copy the code you marked off for your header (1st section) into your new header.php file (underneath the <head> section). Save and close.
Now open up your new index.php file. Copy the second part of your original HTML code, the content (2nd section) into your new index.php file. Save and close.
Getting the hang of it?
Next open up your new sidebar.php file, copy the sidebar (3rd section) of your original code into the sidebar.php file. Finally, copy the original footer (4th section) of code into your new footer.php file.
Put It Back Together
Your original code should now be chopped up into 4 different files (header.php, index.php, sidebar.php, footer.php). Let’s put it back together using a few lines of PHP. Open up your index.php file, it should contain the HTML from the content (2nd section) of your original code. Add this line at the very top of the file:
<?php get_header(); ?>
Now go to the absolute bottom of your index.php file and add these two lines:
<?php get_sidebar(); ?>
<?php get_footer(); ?>
These 3 simple lines of PHP are telling WordPress to fetch and display your header.php, sidebar.php, and footer.php files within your index.php file. Your code is now officially put back together. Now, if you want to edit your sidebar you can just edit your sidebar.php file, instead of sorting through your index.php to find it. The same goes for your header.php and your footer.php.
The Loop
Your index.php is almost finished. The final step is to insert the actual content into the code. Luckily, WordPress uses PHP for this as well. The Loop is the PHP function WordPress uses to call and display your posts from the database they are saved in. Grab this code and paste it into your new theme’s index.php file (inside of whichever div you are using to hold your content).
<?php if ( have_posts() ) : ?>
<?php while ( have_posts() ) : the_post(); ?>
  <div id="post-<?php the_ID(); ?>" <?php post_class(); ?>>
    <div class="post-header">
        <div class="date"><?php the_time( 'M j y' ); ?></div>
        <h2><a href="<?php the_permalink(); ?>" rel="bookmark" title="Permanent Link to <?php the_title_attribute(); ?>"><?php the_title(); ?></a></h2>
        <div class="author"><?php the_author(); ?></div>
    </div><!--end post header-->
    <div class="entry clear">
        <?php if ( function_exists( 'add_theme_support' ) ) the_post_thumbnail(); ?>
        <?php the_content(); ?>
        <?php edit_post_link(); ?>
        <?php wp_link_pages(); ?>
    </div><!--end entry-->
    <div class="post-footer">
        <div class="comments"><?php comments_popup_link( 'Leave a Comment', '1 Comment', '% Comments' ); ?></div>
    </div><!--end post footer-->
  </div><!--end post-->
<?php endwhile; /* rewind or continue if all posts have been fetched */ ?>
  <div class="navigation index">
    <div class="alignleft"><?php next_posts_link( 'Older Entries' ); ?></div>
    <div class="alignright"><?php previous_posts_link( 'Newer Entries' ); ?></div>
  </div><!--end navigation-->
<?php else : ?>
<?php endif; ?>
You just inserted a basic version of the loop into your code! WordPress will use the loop to display your posts and comments on your website.
The End
Now upload your theme folder to /wp-content/themes/. Then log into WordPress and activate your theme. Wasn’t that easy?
This tutorial covered the basics for converting your HTML to WordPress. To further customize and enhance your new theme start looking at the WordPress Codex, specifically Template Tags and Template Files. You can use template tags in your sidebar, in your header, or your footer to call menus, categories, posts, etc. As you learn more about template tags and template files you will discover the endless possibilities for customizing your new WordPress blog.
If you’re interested in WordPress themes, we also have a guide on finding the best WordPress themes.
Enjoy this post? Read more like it in Tutorials.